Waterproofing Your Child's Shoes: A Step-by-Step Guide
Protecting the little feet.
Updated December 6, 2024.

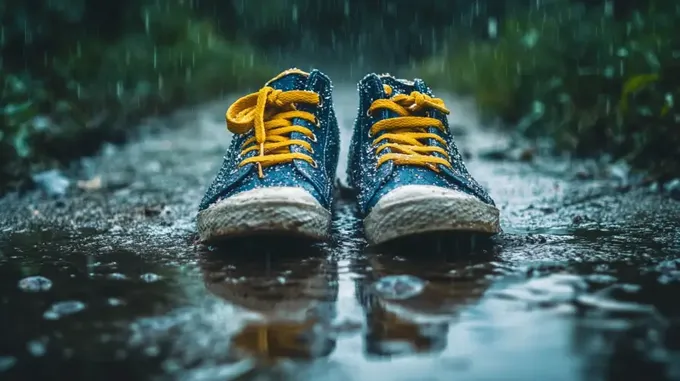
Imagine this: Your little one has had a fantastic time jumping in puddles and racing around the playground, but they've come home with drenched shoes. It's not only a nuisance for you to deal with the sodden footwear, but it's also uncomfortable for your child. Plus, the risk of blisters and soggy skin is definitely something we'd all prefer to avoid. As parents, we're always looking for ways to keep our children comfortable, and dry shoes can make all the difference.
Can Your Kids' Shoes Be Waterproofed?
While it's true that many shoes aren't designed to be fully waterproof, achieving a high level of water resistance is quite achievable. In this article, we'll share some effective methods to waterproof your child's shoes right in the comfort of your home. These straightforward DIY solutions can transform ordinary shoes into effective shields against rain, snow, and puddles.
Why is Waterproofing Essential?
In addition to ensuring your child doesn't have to deal with cold, wet feet, waterproofing their shoes can help maintain good hygiene. It also allows them to participate fully in their favourite activities, whether that's making snowmen or splashing in puddles.
Let's go through two simple procedures step-by-step and help you keep your child's shoes dry and durable.
Waterproofing Your Child’s Shoes with Waterproof Spray
Both synthetic material and canvas shoes can benefit greatly from a waterproof spray. We'll guide you through the steps to ensure your child's footwear stays protected from dampness.
Step 1: Thoroughly Clean Your Child's Shoes
Begin by removing any accumulated dirt and debris from the shoes using a gentle scrub. If grime can get trapped it can spoil the appearance, and you want to avoid that. Give the shoes a good brush-off to remove any mud. Don't forget to remove the shoelaces for an in-depth clean, and lift the shoe's tongue to ensure you cover all areas.
Step 2: Choose the Right Spray
While you can certainly waterproof footwear with WD-40 and similar products that effectively repel water from leather, it's crucial to choose a spray designed for your child's shoe material. Always read the manufacturer's instructions and guidelines on the bottle carefully. This will assist in your decision-making and help guarantee that your child's shoes are dry and comfortable under any weather condition.
Step 3: Apply the Spray
Once the shoes are clean and dry, it's time to apply the spray. Start by testing a small amount in an inconspicuous location within the shoe. Wait for about 30 minutes to check for any discolouration or negative reactions. If there's no issue, spray the entire shoe, maintaining a distance of about 15 centimetres between the spray nozzle and the shoe's surface.
Parenting tip:
Involve your children in the process of waterproofing their shoes. It's a fun activity and teaches them about the importance of taking care of their belongings.
Step 4: Dry the Shoes
Allow the shoes to air dry completely after spraying. Avoid using direct heat sources such as hair dryers, which can damage the shoe material and reduce the treatment's effectiveness. Drying time can vary depending on the spray, so always follow the instructions on the bottle.
» Discover the best winter boots for active kids
Waterproofing Your Child’s Shoes with Wax
For materials like leather, wax can offer long-lasting protection without compromising the inherent qualities of the material. While applying wax might require more effort than using a spray, the results are well worth it. Wax lasts longer, and it's an excellent homemade footwear waterproofing method. Here's how to do it:
Step 1: Prepare the Shoes
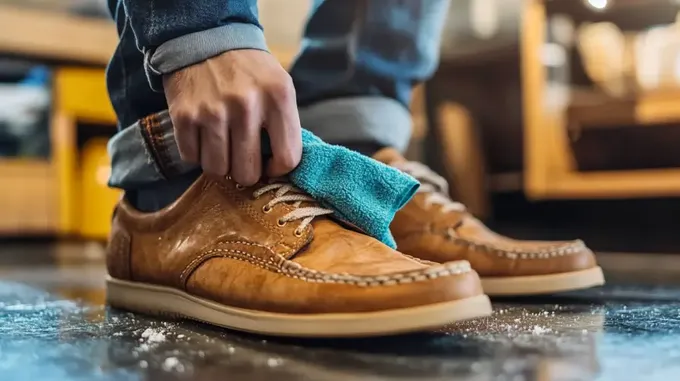
Start by cleaning any surface dirt with a damp cloth. For dirty shoes, you might need to use warm water and a toothbrush to gently scrub away stubborn stains. Don't forget to remove the laces for a more thorough job.
Shoe Care Tip: Use a soft brush or cloth to regularly remove dirt from shoes. This can prevent buildup that may impact the effectiveness of your waterproofing efforts.
Step 2: Pick a Wax
Wax selection is crucial and depends on your child's shoe material. Beeswax and candle wax are often used for their effective water-resistant properties. If you're using beeswax, opt for a natural, undyed variety. If you choose a coloured wax, it should match your child's shoes to maintain their appearance.
Step 3: Apply the Wax
For shoes with synthetic soles, extra precautions are needed when applying the wax. Melt the wax using a hairdryer on high heat to ensure it penetrates the shoe material adequately. Be cautious not to overheat the seams, as this could risk melting the glue holding the shoes together.
Step 4: Test the Shoes
After waxing, test the shoes in the rain to confirm their new water-resistant quality. Observing how they fare in different situations, like light showers or wading through puddles, will help gauge the effectiveness of the wax.
» Pick the best durable sneakers for active playtimes
One Small Step for Dryness, One Giant Leap for Comfort
Arming yourself with this knowledge, you're now well-equipped to start the process of waterproofing your child's shoes. The payoff is not only in the longevity of their footwear but also in the increased comfort and protection for your child's feet.
And remember, if you're in the market for stylish, supportive, and cosy leather shoes for your child, do browse through our First Walkers range. Crafted with precision, our footwear provides a perfect blend of style, durability, and support for growing feet.
